Deploy a Jamstack website to Azure Blob Storage with GitHub Actions
Main Content
Author: James Edwards Published: 4/12/2021 Updated: 6/21/2021
Author: James Edwards Published: 4/12/2021 Updated: 6/21/2021
GitHub Actions are included with Github Repositories and can be used to automate project workflows like building and deploying code. In this example we will see how to automate the build process and deployment of a site built with the Jamstack. We can use GitHub Actions to checkout a specific branch in a git repository, and then execute a build process that is common to Jamstack sites that are created with a static site generator like Next.js or Eleventy. On completion of the static site generator build process, the static site folder will then be uploaded to Azure Blob Storage, utilizing the static website hosting feature included with Azure Blob Storage.
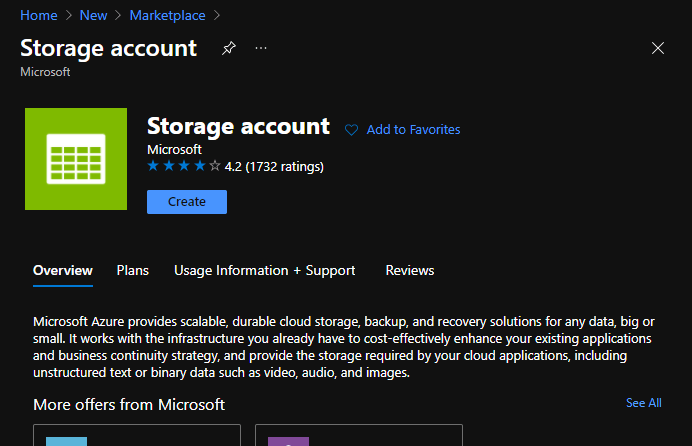
In order to use the static website hosting feature included with Azure Blob Storage you need to create an Azure account if you do not already have one. Once you have created your account and logged in you will need to create the Storage Account resource that will provide the Blob Storage service. In the Azure portal select create a new resource and then search for "storage account". Then click create and follow the setup steps that are displayed to give the storage account a name and region. You can leave any pre-configured settings as the default setting.
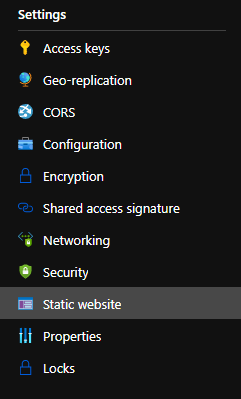
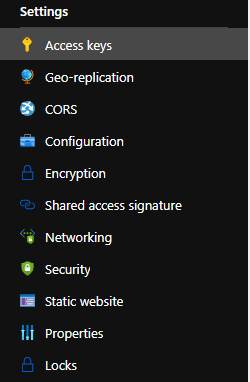
Within the Azure portal navigate to your newly created storage account and in the left side navigation find the section labelled "Settings" and then within that section select the "Static website" feature.
In the static website settings, enabling the static website feature will automatically generate the primary endpoint based on the storage account name. In the "Index document name" and "Error document path" fields enter the following:
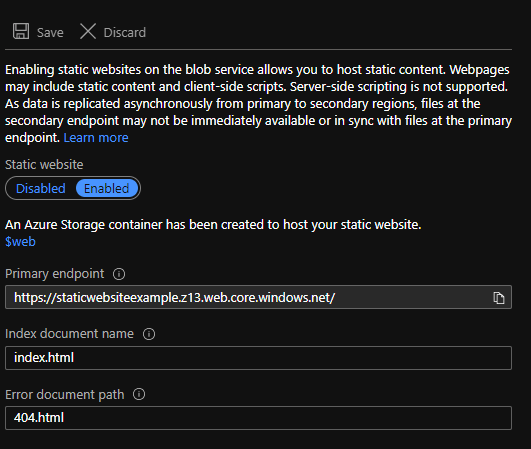
Based on how your static website is configured, or the static site generator that you are using, the "Error document path" might be different than what is shown for this example, however the "Index document name" will most likely remain as "index.html". Make sure to update these settings to correspond to the configuration that you are using. The storage account static website is now available and you can go to the primary endpoint and you will see this:
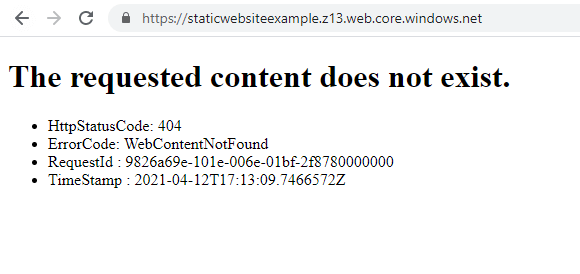
This is good and it means that the static website is setup and publicly available. Now we can setup GitHub Actions to automated deployments anytime there is a commit pushed to the main branch in our GitHub repository.
If you haven't already go ahead and create a new repository for your project, and after doing so follow the directions that are displayed to create a new repository from the command line on your local computer. This should result in a new repository that can push to the remote repository created on GitHub and any commits that we make will be applied to the main branch which is named "main". Make sure that you are able to push commits to GitHub and you can see them in your GitHub remote repository interface before proceeding.
Note: The following steps that configure the GitHub Actions workflow require that the branch name is set to "main".
Additionally you will want to add a ".gitignore" file to your project that minimally contains:
node_modules
_output
The "_output" folder is included because this is created by the static site generator build process that is configured in the next step. This folder will always contain generated files so it does not need to be tracked by git.
If you already have a repository, that includes a Jamstack site setup with a static site generator, you can proceed without this step. In order to illustrate the git-centric deployment process that is promoted by GitHub Actions we can use, morphic a static site generator built with Node.js and TypeScript. You don't need to use a static site generator in order to use GitHub Actions or the Static Website feature included with Azure Blob Storage, however it can be useful since GitHub Actions can execute commands that will invoke the static site generator build process and upon completion carry out the cloud deployment.
Before proceeding make sure to have Node.js and npm installed.
In your project folder run the command npm init and follow the prompts that are displayed to create a package.json file for your project. Then run the command npm install @protolith/morphic. This will install the morphic static site generator and its dependencies.
In the project folder where the package.json file was created you can then run this series of commands to create some site content.
mkdir content/pages
mkdir templates
cd content/pages
echo '---
title: Home
---
# <%= model.title %>
home page content

<a href="/about/">Go to About Page</a>' > index.md
echo '---
title: Page Not Found
---

The page you are looking for may have been moved or deleted.

[Go to Homepage](/)' > 404.md
echo '---
title: About
---
# <%= model.title %>
This is the about page.

<a href="/">Go to Home Page</a>' > about.md
cd ../../templates
echo '<!DOCTYPE html>
<html>
  <head>
    <title><%= model.title %></title>
  </head>
  <body>
    <%- model.content %>
  </body>
</html>' > index.ejs
cd ..
Note: make sure the files created (both ".md" and ".ejs" files) are encoded as UTF-8, or the static site generation process will not work. In Visual Studio Code you can change the file encoding by selecting the file and then in the bottom right hand corner toolbar the encoding is displayed. Click the encoding display in the bottom right toolbar to save with the UTF-8 encoding if needed.
To make sure that morphic is setup correctly and generating the appropriate files you can run the command npx morphic --serve, and a browser window should open with the home page displaying a link to the about page. You can navigate back and forth from the home page and about pages. Also you can verify the 404 page was generated by going to the path "404.html" so the full url when running locally might be "http://localhost:3000/404.html", which corresponds to the error document path setting configured in the Azure Blob Storage Static Website settings.
We now have our static site configured and ready to deploy with a GitHub Actions Workflow. To create a new GitHub Actions Workflow, that will build and deploy the static site from our GitHub repository, add a new folder within the current project folder named ".github". In the ".github" folder add another folder named "workflows" and within the "workflows" folder create a new workflow YAML file named "main.yml". The "main.yml" file is where we will create the GitHub Actions workflow that will build and deploy a Jamstack site to the Azure Blob Storage Static website. Here is the complete reference documentation for creating workflows provided by GitHub. We will only use a subset of the available features in our "main.yml" file to build and deploy on a git push command to the main branch in the repository we created. In the "main.yml" file add the following code:
name: MAIN

on:
  push:
    branches: [main]

env:
  BUILD_COMMAND: npx morphic

jobs:
  build:
    runs-on: ubuntu-latest

    steps:
      - uses: actions/checkout@v2
        with:
          fetch-depth: 0

      - name: Install Dependencies
        run: npm ci

      - name: Build
        run: ${{ env.BUILD_COMMAND }}

      - name: Update Blobs
        uses: azure/[email protected]
        with:
          inlineScript: |
            az storage blob sync -c '$web' -s _output --connection-string '${{ secrets.AZURE_STORAGE_CONNECTION_STRING }}'
This workflow will be activated anytime there is a git push command for the main branch in the remote git repository. It will setup a GitHub Actions environment that is running on the latest version of the Ubuntu operating system, and then checkout the latest version of the code from the main branch. After checking out the main branch, the workflow invokes the npm ci command, which is similar to the npm install command, and is suitable for continuous integration environments. This is required to install the morphic static site generator npm package, similar to how we ran the static site generator locally in a previous step.
With the package.json dependencies installed the "Build" step in the workflow will run the "BUILD_COMMAND" specified as an environment variable. In our case, with the morphic static site generator, this command is the same one as we used before npx morphic, except this time the --serve flag is omitted since the files will be deployed to Azure Blob Storage Static Website hosting.
After running the Build command the workflow will have access to the site output folder: "_output" in our case, and this is what will be used in the Azure CLI portion of the workflow with name "Update Blobs". This uses the Azure CLI Action to permit the use of Azure CLI commands. In this case we want to use the az storage blob sync command to ensure that "$web" blob container is synced to the the current build "_output" folder that was just created during the Build step of the workflow file.
In order to sync the files to the Azure Blob container named "$web", we need to pass in the "--connection-string" value that acts an access password for the storage account. Instead of creating a security risk by including the blob storage connection string directly in our publicly available workflow we can use GitHub Actions Repository Secrets to store secret variables that only the automated workflow environment can access.
The workflow configuration file is now included in the project, so we can commit the example static files we created and the workflow file using the commands git add . and then git commit -m 'adding website files and workflow'. However, before we push these changes to the remote GitHub repository we need to configure the "AZURE_STORAGE_CONNECTION_STRING" GitHub Actions secret value that is referenced in the workflow file.
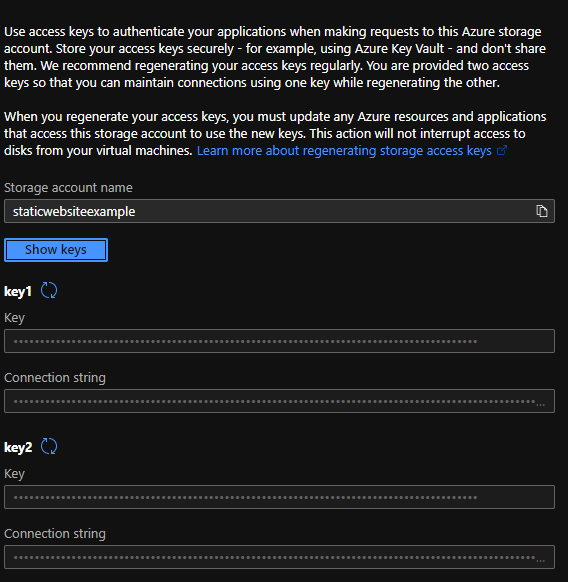
In the Azure portal, the storage account connection string can be copied by going to the Storage Account that was created previously. In the left sidebar find the settings section that contains the Access keys configuration.
You can choose the connection string for key1 or key2, but make sure to use the connection string field value and not the Key field value.
Copy the connection string from the Azure portal settings and go to your GitHub repository interface, and in the top navigation there will be a section labelled "Settings". Clicking on "Settings" will bring you to a new page with a left side navigation that contains a section labelled "Secrets". This is where we will use the copied Azure Blob storage connection string to create a new GitHub Actions secret. On the Secrets page click the button to add a "New repository secret".
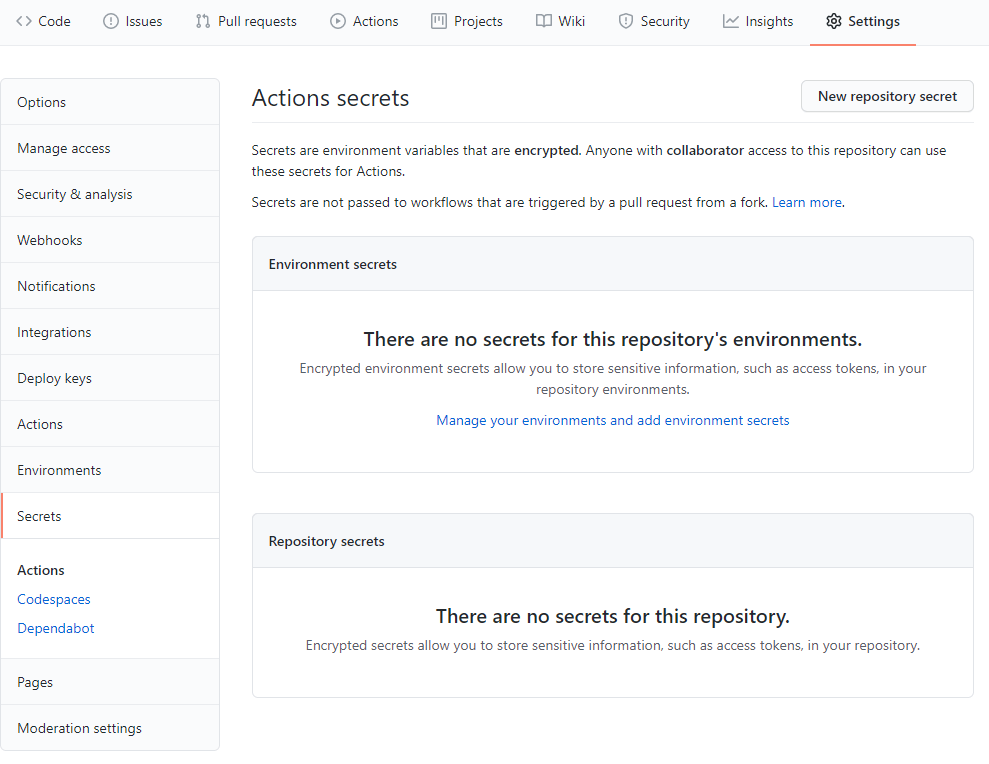
Then add the secret name that matches the variable name from the "main.yml" workflow file, in this example it is AZURE_STORAGE_CONNECTION_STRING, and paste the Azure Storage connection string into the Value field.
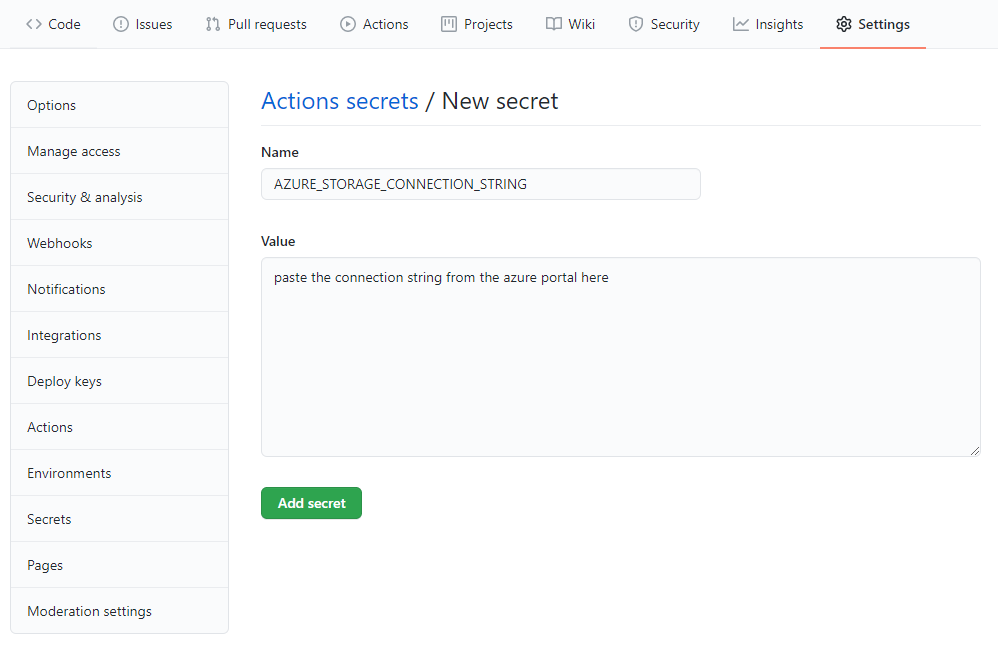
Then click "Add Secret" and our GitHub Actions Workflow can now access the Azure Storage connection string to sync files to Azure Blob Storage. Our GitHub Actions secret is now configured and ready for use.
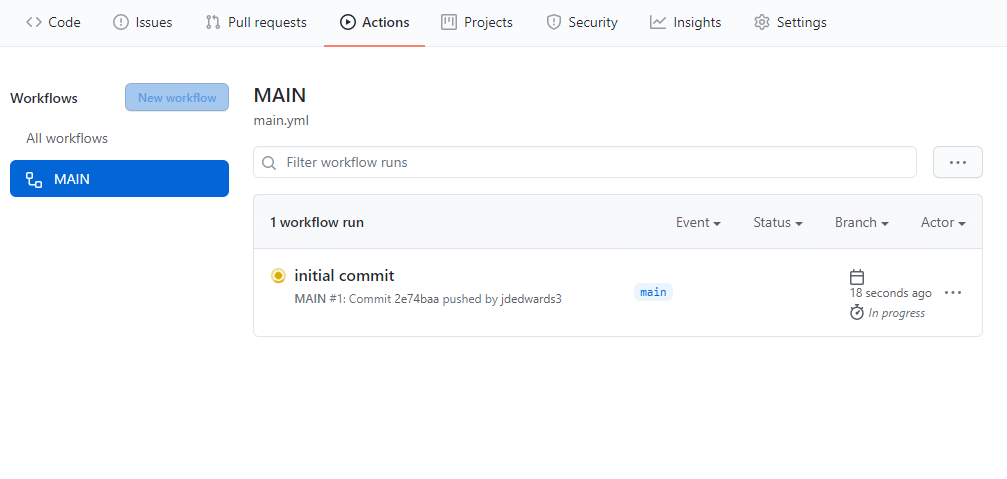
Now you can run the command git push -u origin main from your local project and you should see the commit made previously has been pushed to the remote repository in the GitHub interface. In the top navigation of the GitHub repository, the "Actions" tab should now show the workflow automation is underway.
When the workflow build and deployment process completes, navigate to the primary endpoint for the Azure Blob Storage static website, that was displayed in the first step.
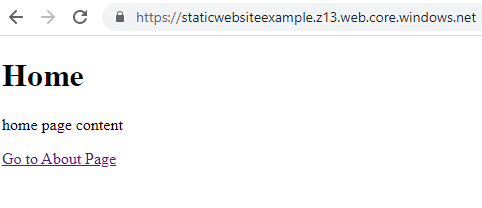
You should see the home page now displays the content of our site and you can navigate to the About page that was created earlier. If you accidentally navigate to a page that does not exist, the error document path is set to 404.html, and Azure Blob Storage will return the 404.md page content that was added as a page within the static site.
Anytime you want to make changes to your site in the future, you can follow the same process as this example by first committing the changes to the main branch and then pushing the changes to the remote GitHub repository. This will trigger the GitHub Actions workflow and the changes will be automatically updated on the static website.